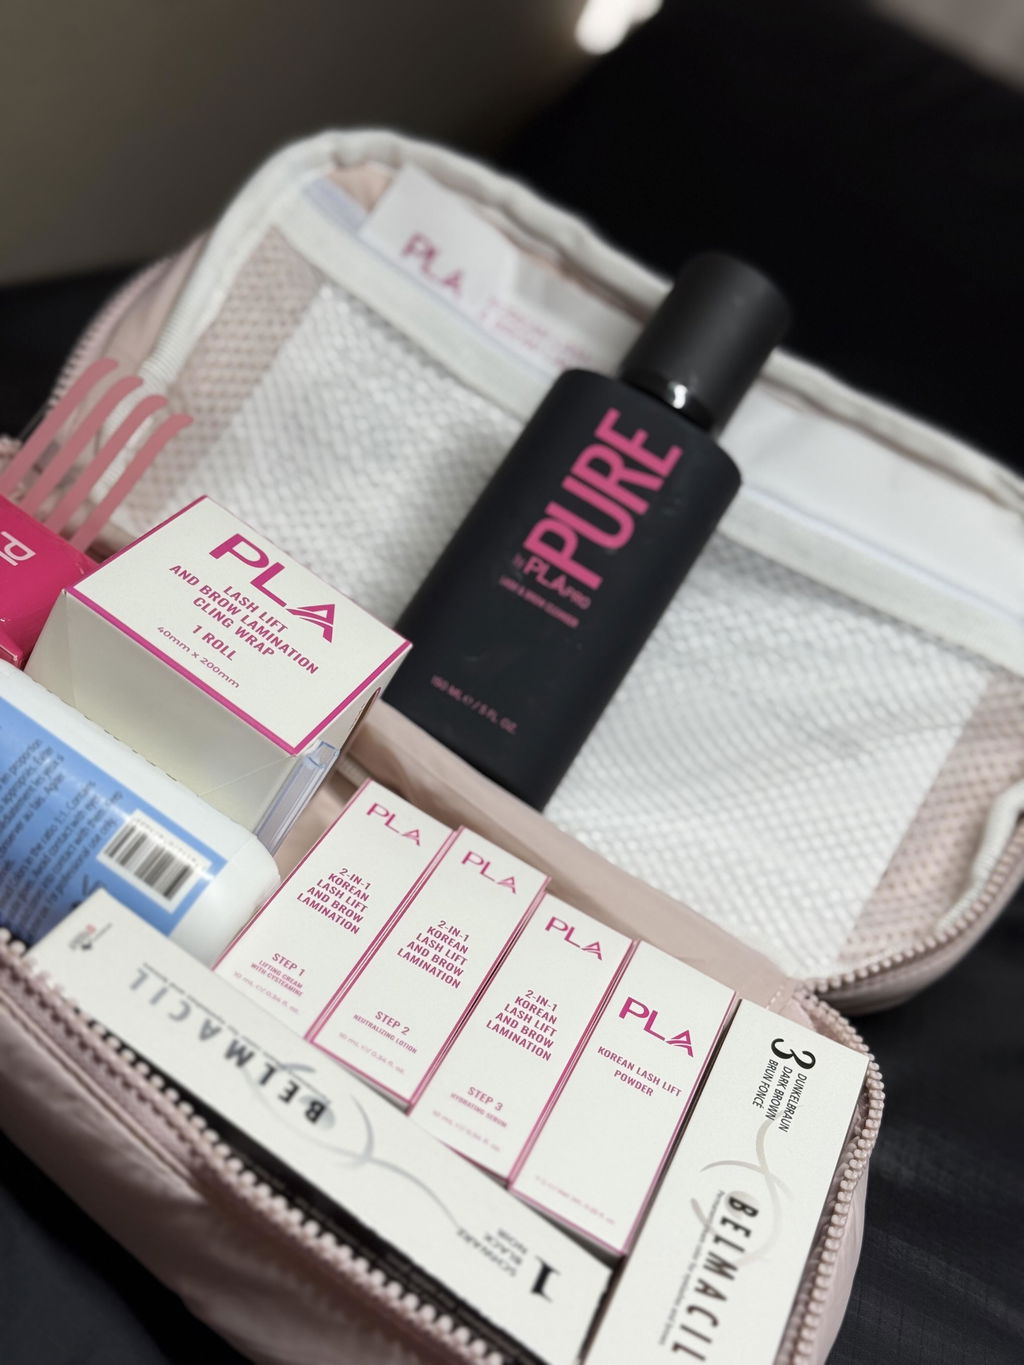


Korean Lash Lift 10 Shot Refill - Step 1
- In stock, ready to ship
- Backordered, shipping soon
One formula. Two Services.
Known for its gentle, nourishing and flawless results, the PLA™ Korean Lash Lift and Brow Lamination system is formulated for both lash lifts and brow laminations, without cutting corners on either. Step 1 Cysteamine Lifting Solution is the foundation of every lash lift and brow lamination service. Unlike traditional lash lift systems, our cysteamine formula works at a gentler pH that's safe for root-to-tip application on lashes, making it perfect for all lash and brow types, sensitive clients, and hard to lift lashes and brows.
Korean Lash Lift and Brow Lamination Step 1 - Lifting Cream gently breaks down the disulfide bonds and softens the hair so you can easily shape them to the rod. With a thicker than standard viscosity, this lifting cream allows you more control over placement and reduces migration.
Fast Facts:
-
Ten 1.5 mL sachets of Step 1 - Lifting Cream
-
Cysteamine-based formula
-
Made in the UK
-
Formulated to work with full PLA Korean Lash Lift and Brow Lamination system
How to Use PLA™ Korean Lash Lift
Prep & Assessing the Lash Line
Before starting your Korean Lash Lift, use a gentle, lash-safe cleanser like Pure Cleanser by PLA to remove all makeup, oil, and residue from root to tip. Dry thoroughly then brush through the lashes to separate them and assess the natural lash direction.
Tape and secure the lower lashes, making sure they are fully covered.
Choose your desired shaping shield size based on the client's lash length, lash direction, eyelid type and desired result.
Step 1: Lifting Cream with Cysteamine & Korean Lash Lift Powder
Apply the self-clinging softening shield just above the natural lash line. Mix Step 1 with viscosity powder at a 1:1 ratio, then apply the mixture starting at the base of the softening shield, working it onto the lashes while guiding them upward into place. Work from outer to inner corner for even coverage.
Begin processing, using cling wrap or cling tape if needed, for up to 14 minutes.
Recommended initial timing:
-
Thin/sparse lashes: Do your first check at 8 minutes
-
Thick or stubborn lashes: Plan to check at 10 minutes
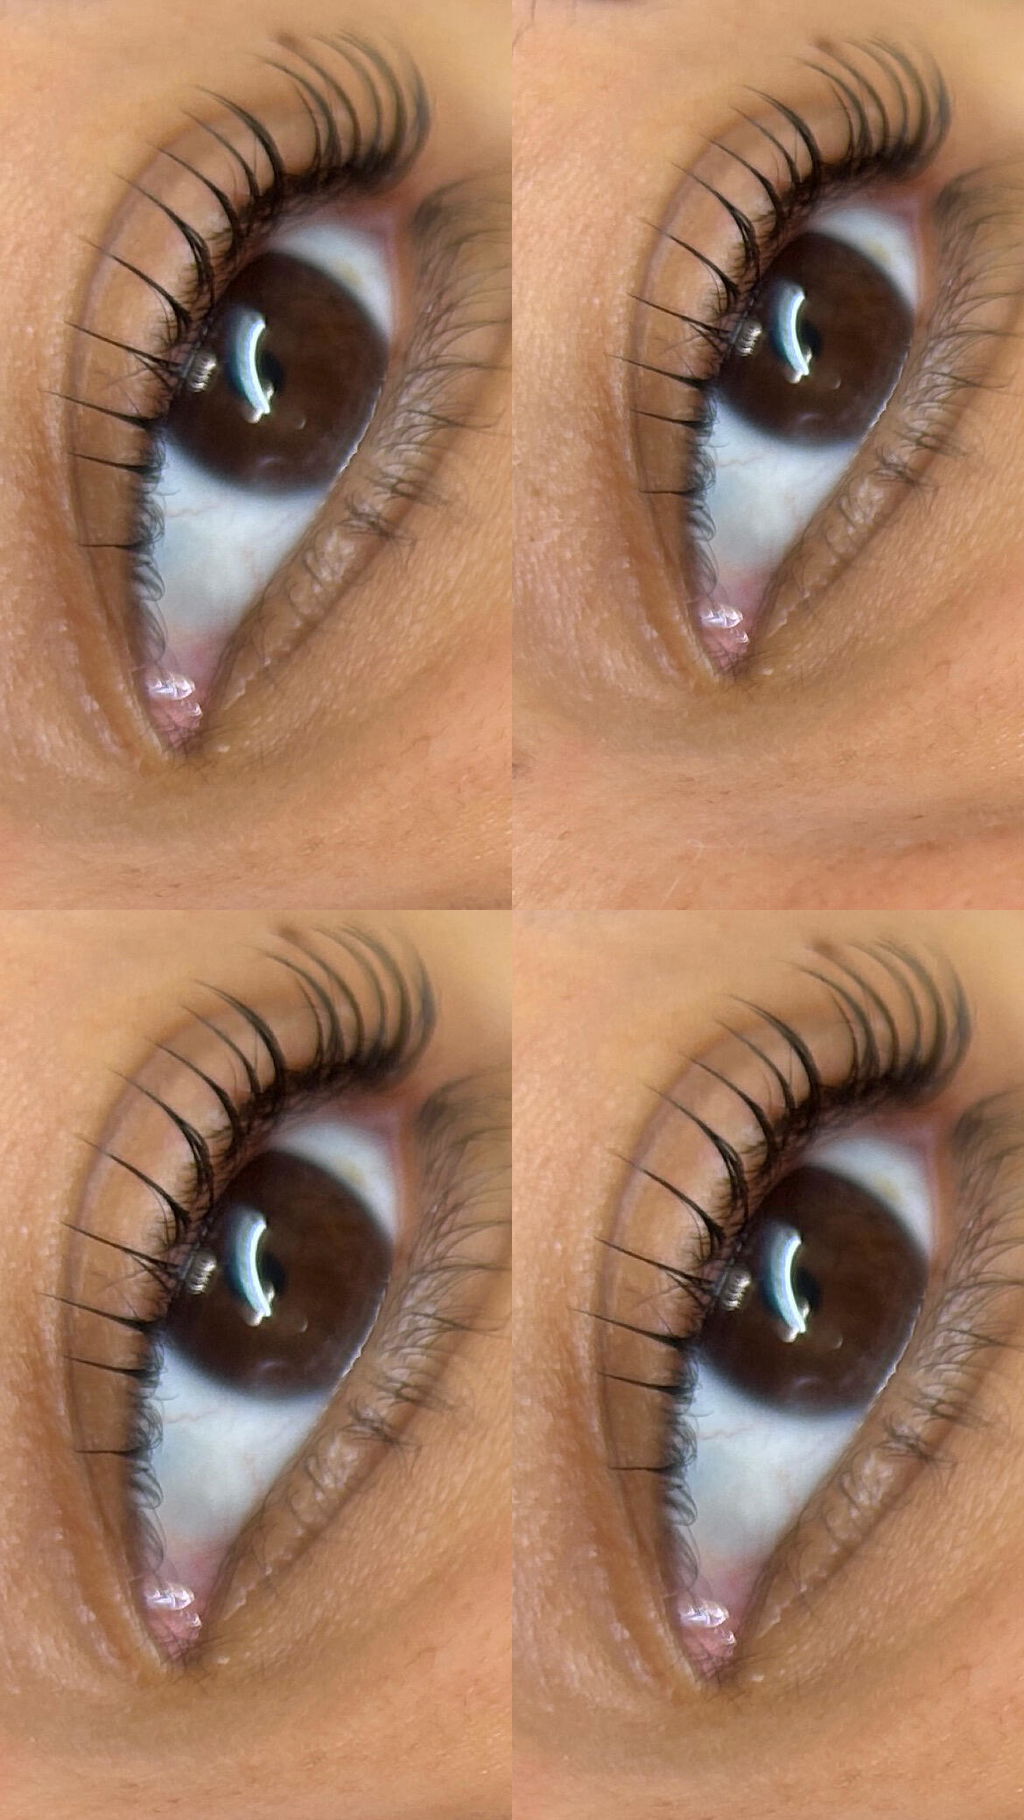
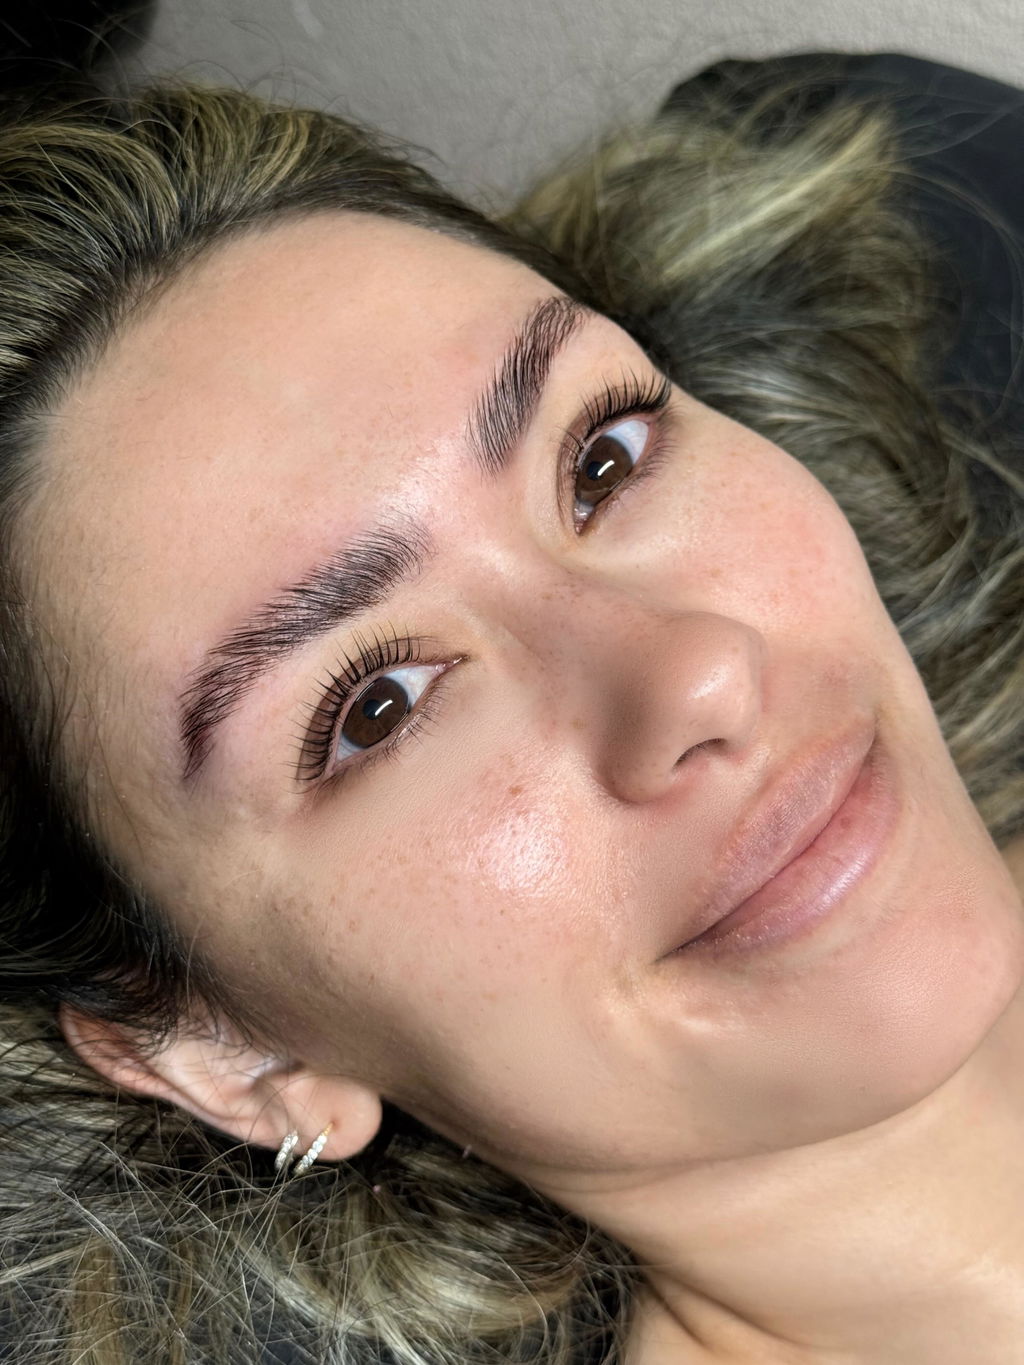
Lashes that are fully processed should feel flexible, lift easily, and move without resistance.
Once the lashes appear processed, remove Step 1 with a clean lip applicator and assess all zones of the lashes. If needed, reapply Step 1 only to areas that need additional softening (spot treating) and check back in 2-3 minutes.
Repeat until all lashes are fully processed.
Step 2: Neutralizing Solution
Remove the softening shield by flipping it downward keeping the processed lashes out of the way and replace with desired shaping shield. Wrap the lashes into their final placement onto the shield, taking your time to refine direction and spacing.
Apply step 2 from root to tip and process for the same number of minutes as step 1 was used to neutralize and lock in the lift.
Remove step 2 thoroughly with a disposable lip applicator.
If tinting the lashes, apply tint after step 2, before step 3 and when finished tinting remove with a damp lip wand thoroughly.
Step 3: Hydrating Serum
Finish the service by applying Step 3 to nourish and condition the lashes. This final step completes the service and leaves the lashes looking soft, healthy and lifted.
To view the MSDS Paperwork for this product, click here.