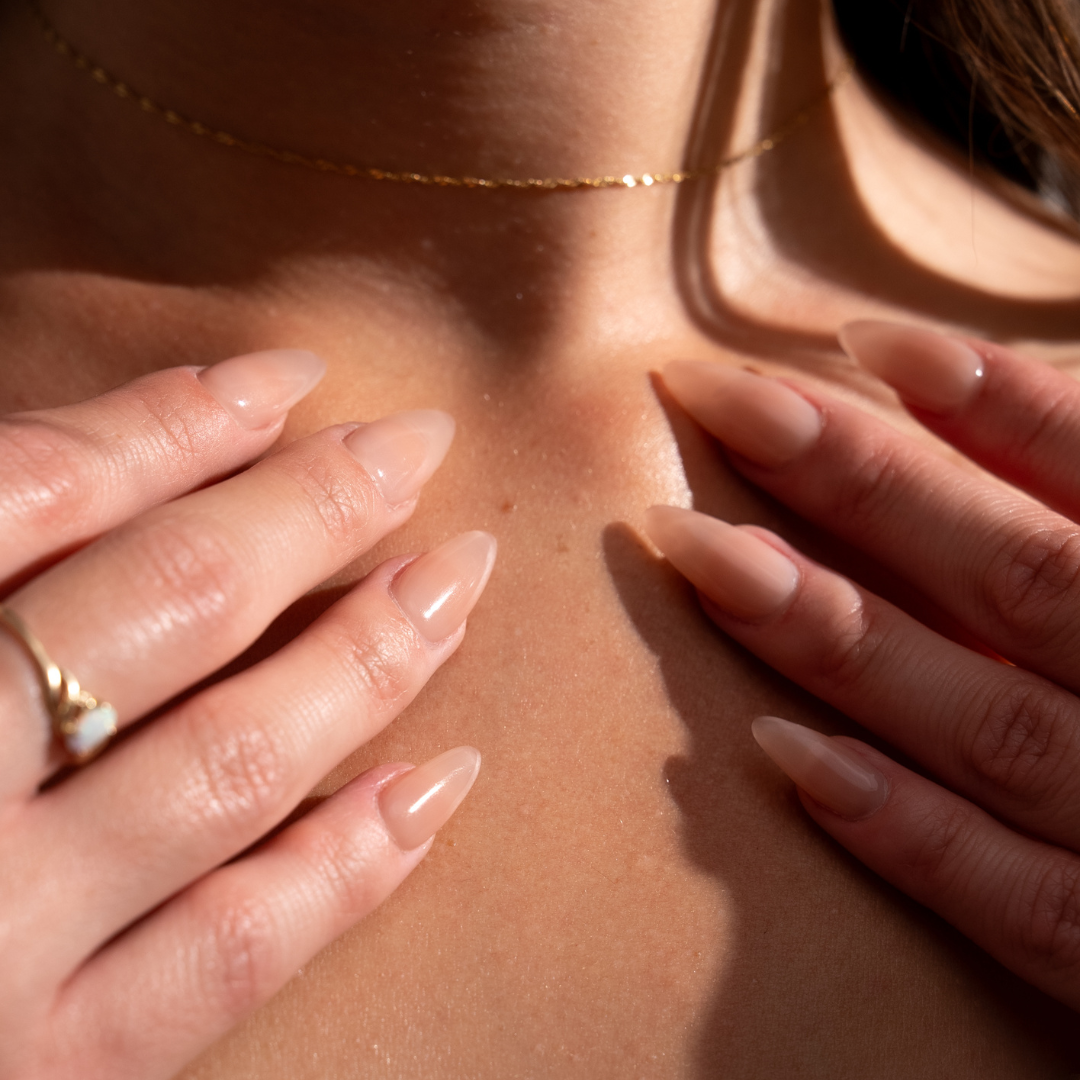
Can You Do Nail Art on Dip Nails? How to Do Designs With Dip Powder
Can You Do Nail Art on Dip Nails? How to Do Designs With Dip Powder
Whether you love getting them done or you are the one creating the dip nail set, they are a favorite for a good reason. Known for their durability and long-lasting wear, this manicure option offers not only a vibrant finish, but a versatile canvas for nail designs. So if you are wondering, can you do nail art on dip nails? The answer is yes! Regardless if you are looking to add simple accents or are looking to get creative with intricate designs, this blog will go over how to do designs with dip powder, tips for long lasting designs, and so much more.
Let’s get started!
Overview of Dip Nails
Dip powder nails are a popular manicure alternative to lacquer and gel polish due to them lasting longer than polish, while still remaining lightweight and strong like acrylic nails. The process involves a nail dip system that consists of a primer to prepare the natural nail, a base coat to help bond the dip powder to the nail, an activator to cure each powdered layer, and a top coat to seal it all in with a glossy finish. All of this is done without a UV light and the strength and color opaqueness is buildable depending on the number of dipped layers. The result of all of this is a chip resistant nail set that can last up to three to four weeks. While the finished set is perfect for everyday wear, it can also serve as the base for nail art and designs.
If you want to learn more about dip powder or are curious about the ingredients, see what is dip powder made of.
Now, to find out more about dip nails nail art and how to do designs with dip powder.
Can You Do Nail Art on Dip Nails?
Can you do nail art on dip nails? In short, yes. Just like with gel polish or acrylic nails, nail art can be applied over dip powder nails. As long as the nail surface is properly prepped and sealed, there are several ways to add nail art. For instance, you can paint over the top with gel polish, layer designs between dip powder coats, or use foil and nail stickers. These are just some of the possibilities, but the potential is truly endless.
Why it Works So Well
Dip powder nails work well for nail art because of their structure and unique texture and layering process. The dip method creates an even surface that is perfect for additional layers of product, making it easier for the application of decals, foil, or chrome. Plus, since each layer cures quickly, they are less likely to smudge during application. Again, these are just some of the many design ideas possible. If you are still questioning to yourself how can you do nail art on dip nails, do not be afraid to explore more designs to achieve your desired look or goals.
Best Types of Nail Art to Use on Dip Powder
If you are wondering about how to do nail art on dip nails, well, no matter if you’re looking to add a simple touch or an elaborate design to your nail set, there are a wide variety of dip nails nail art techniques to help you achieve your goal. Here are the best types of nail art to use on dip powder:
-
Hand-painted designs: Add custom artwork on top of your cured dip nails using fine brushes and gel polish or acrylic paint.

-
Ombré and marbling: Create ombré or marbled looks by layering or blending different dip powder shades.

-
Encapsulated nail art: Since dip powder can be layered, this allows for the ability to encapsulate decorative elements like glitter, foil, tiny gems, or dried flowers between the layers for a 3D effect.

-
Textured nails: For a textured nail option, use dip powder with gel polish and cure for a textured nail look.

-
Nail gems, stickers and decals: A quick and easy option, add nail gems, stickers and water decals to the dip nails. Afterwards, seal them in with a top coat to ensure that they will last.

These are just a few ideas on the types of nail art you can do on dip nails. Each of these methods are great options when you are looking to get creative with your nail set and can be combined to accomplish the look you are going for.
So, in short, if you are wondering what kind of nail art can you do nail art on dip nails, the answer is the same nail art you can do on acrylic, gel or any other nails.
What to Avoid When Doing Nail Art on Dip
Now that we have gone over the best types of nail art to use on dip powder, let’s go over some things to avoid that can affect how your designs turn out or how long they last. Here is what to avoid when doing dip nails nail art:
-
Skipping surface prep: If the dip surface is not properly buffed and cleaned before applying nail art product, it can cause them to not adhere well or to slide off. Remember, for the best results, make sure that the surface is always smooth, free of dust, oils, and moisture.
-
Applying nail art before curing: To avoid smudging, uneven application or poor adhesion, make sure that the base is fully cured and hardened before adding any nail art.
-
Too many thick layers: While dip nails are known for their layering aspect, there is such a thing as too much, especially if the layer are too thick. Layering too much product can cause the design to look bulky and even lead to lifting or cracking. To avoid this, keep the layers thin and even.
-
Overworking the design: Sometimes, less is more. By adding too many elements, this can cause the design to look crowded and even compromise the durability of the nail set. Before starting, try to plan ahead a balanced layout.
-
Not sealing the design: A crucial step to protect your nail art from chipping or peeling is to seal your art with a top coat, it will help to ensure the longevity of your nail art.
Now that you have a better understanding of what to avoid, let’s jump into how to do designs with dip powder.
How to Do Designs With Dip Powder: Step-by-Step Guide
Dip nails nail art is a great way to show off your personal style. Whether you’re going for a minimalist look or for detailed designs, here is a step-by-step guide on how to do designs with dip powder.
Step 1: Start With a Fully Cured Dip Set
It is important before adding any nail art, that the dip set is completely finished and cured. This means that the base coat, powdered layers, activator, and top coat have already been applied and have fully hardened and cured. The dip nails should be smooth with no tackiness before moving onto the next step.
Step 2: Lightly Buff the Surface
As previously mentioned, surface prep is an important step that you will not want to miss. Once your dip nail set is cured, use a fine-grit buffer to gently roughen the surface of your nails. This will remove shine and will give your nail art something to grip onto. But, be careful not to buff too aggressively, as the goal here is to create a slightly matte texture. When done, don’t forget to wipe away any dust with a lint-free wipe or an alcohol wipe.
Step 3: Apply Your Nail Art
This is where the fun part begins and where you get more creative control. You can use any of the previously mentioned nail art techniques or experiment on your own. Just remember that if using gel, cure each layer under a UV/LED lamp before moving to the next step. For stickers or decals, apply them on the buffed surface and gently press them down to remove any air bubbles before moving to the next step.
Step 4: Seal Your Art
Once your design is complete, it is important to seal it in order to protect it and increase its longevity. Apply a final layer of dip top coat or gel top coat and cure it fully. Make sure that the top coat covers the entire nail and edges to protect your design and prevent lifting or chipping.
By following these four steps, you have now completed your dip nails nail art! For additional tips on creating nail art that lasts longer, keep reading.
Tips for Creating Dip Nails Nail Art That Lasts Longer
While sealing your nail art with a layer of top coat does help to ensure that they will last longer, there are other things that can be done to keep them fresh and chip-resistant as well.
Use the Right Tools
Using the proper tools is key to achieving a smooth application and to your art looking professional, as well as, help it to last longer. Invest in high-quality nail tools like nail files, buffers, cuticle pushers, dip powder brushes, and nail liners. Quality tools help to prevent lifting, cracking, and uneven layers. Be mindful that for continued optimal performance and long time use, you will need to care and properly maintain your tools after each use.
Work With High-Quality Base Products
Your dip manicure is only as strong as its foundation. Choose professional-grade base coats, bonding agents, and dip powder. Remember, for better durability and less risk of breakage, a strong bond is needed between the natural nail and the dip powder. Low-quality products can often contain fillers or weaker adhesives that can cause premature chipping, lifting, or peeling – especially when nail art is added on top.
Don’t Skip Top Coat
This cannot be said enough! The top coat is what protects both your color and your art. It is your final defense against chips, scratches, and dullness. Skipping it can significantly reduce the lifespan of not only your nail art, but your whole dip nail set. When using, make sure that the top coat fully covers your design and the edges of your nails to seal everything in.
Perfect Your Craft With Nail Supplies From PLA Pro!
When it comes to nails that last, the quality of your supplies can make all the difference. Investing in quality supplies means fewer touch ups and a finished set that you will be proud to show off. PLA Pro offers high quality nail tools and nail supplies that are trusted by both nail technicians and salons. With a wide range of 308+ shades for dip powder, gel, and lacquer polish, our products are made for creativity and durability so that your nails are always flawless and making a statement.
Closing Thoughts on How to Do Nail Art on Dip Nails
Can you do nail art on dip nails? Yes! Not only is it possible, but we hope this blog has given you some insight to not only how to do designs with dip powder, but also generally how to do nail art on dip nails. Dip powder is one of the best options to create not only strong and beautiful manicures that will last for weeks, but customizable ones that will allow for your creativity to shine. With the right tools and techniques, like those from PLA Pro, the possibilities are truly endless no matter which style you are aiming for.


